Elliptical Hip Replacement Recovery: Phased Timeline Guide
By Priya Natarajan • 19th Jan

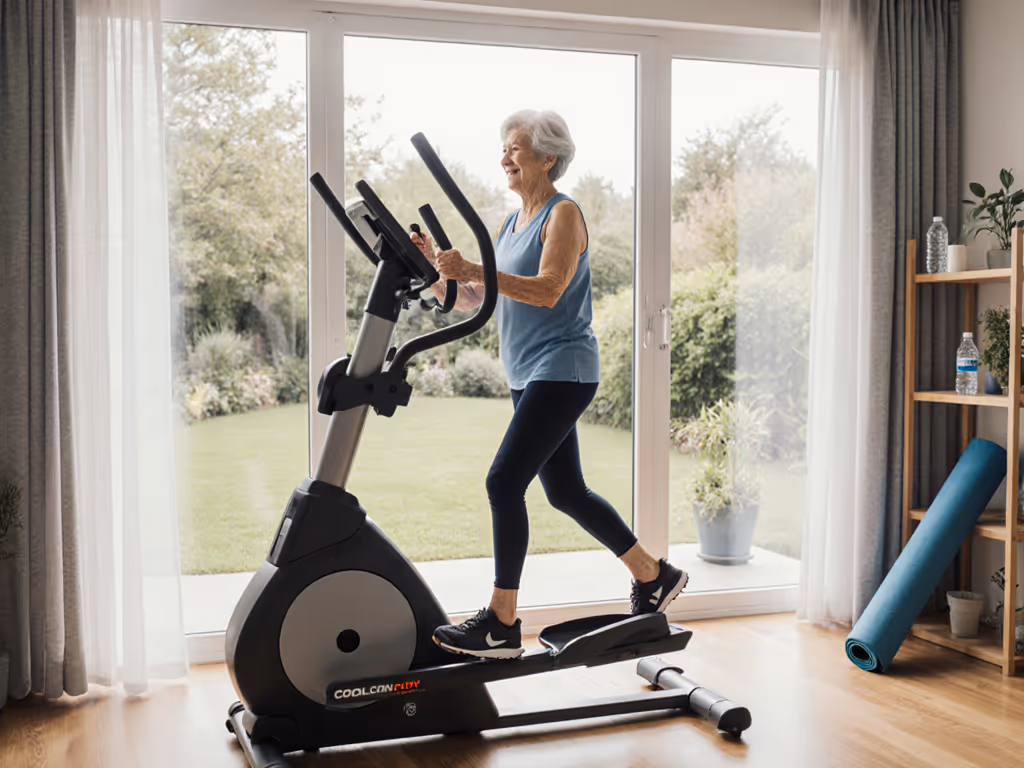
Choosing the right cardio tool after elliptical hip replacement recovery starts with understanding your body's natural healing rhythm. With the right joint replacement elliptical protocols, you can build sustainable movement without pressure or pain. This phased timeline honors your surgical journey while making consistency effortless, because sustainable comfort is always the shortest path to results. I learned this firsthand when a wrist injury forced me to rethink my fitness routine; what began as a coffee-break ritual on a quiet machine became my most reliable habit. Small, repeatable wins turn cardio into a lifelong habit.
The Gentle Transition Approach
After hip surgery, your focus should be on organic progress, not metrics or milestones. Rushing leads to setbacks, while patience builds lasting confidence. This four-phase guide aligns with standard recovery timelines but centers your comfort cues. Always consult your surgical team before starting any routine (they'll confirm when you're cleared for weight-bearing activity). When you're cleared, follow our elliptical rehabilitation protocols to scale intensity safely.
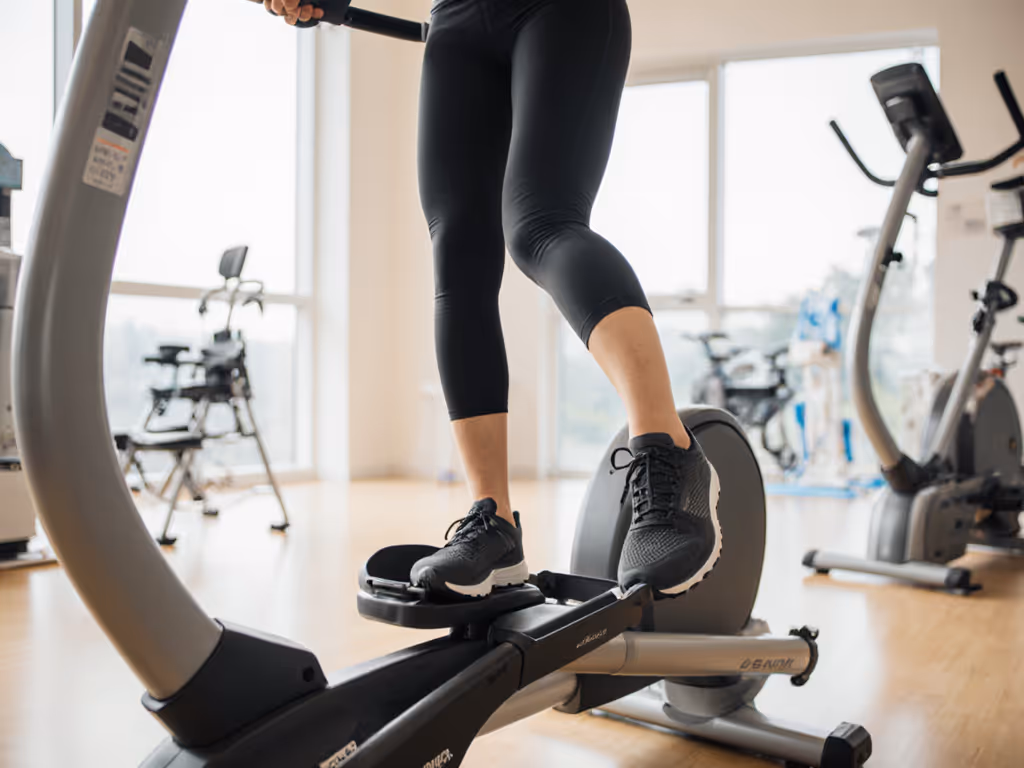
Why Ellipticals Shine for Hip Recovery
Ellipticals offer smooth, low-impact motion that minimizes joint stress while rebuilding strength. Unlike treadmills or bikes, they support natural hip extension without jarring movements. Key advantages:
- Zero shearing forces on the new joint
- Controlled range of motion (adjustable resistance prevents overexertion)
- Full-body engagement that builds core stability around the hip
- Predictable motion patterns reducing fall risk during early recovery
Your future self will thank you for prioritizing smooth transitions over speed. This isn't about checking boxes, it's about building trust in your body's ability to move freely.
Phase 1: Foundation Building (Weeks 1-2)
Focus: Zero-Pressure Mobility
During initial healing, your surgical team will likely restrict lower-body exercise. But you can prepare your environment for frictionless starts later:
- Console simplicity check: Remove any complex apps or subscriptions. Your post-op brain craves straightforward controls
- Step-up height verification: Ensure the machine's platform sits at or below 8 inches (most modern units comply)
- Handle comfort test: Grip padded rails without straining wrists or shoulders
This phase is purely about mental readiness. To keep your setup distraction-free and budget-friendly, see the true 5-year cost of subscriptions before enabling any paid apps. Spend 2-3 minutes daily standing near the machine, no stepping motion yet. The goal is to associate it with calm, not effort. When your therapist approves light activity, begin Phase 2.
Phase 2: First Steps (Weeks 3-4)
Focus: Micro-Movements
Your clearance for weight-bearing activity begins here. Start absurdly small to avoid overwhelm:
- Duration: 3-5 minutes maximum
- Resistance: Lowest setting (Level 1 or manual mode)
- Cadence: 40-50 RPM (focus on smooth glides, not speed)
- Hand placement: Use fixed handles (not moving arms) for stability
Critical safety check: If you feel any pinching or clicking in the hip joint, stop immediately. This isn't the time for pushing through discomfort.
Use a timer, not the machine's display, to avoid decision fatigue. When you're ready to refine technique, our elliptical form guide shows joint-safe posture cues. Your only job is to show up and move gently. Track progress with a simple checklist:
- ☐ Completed session
- ☐ No pain during movement
- ☐ Comfortable step-on motion
This phase builds neural confidence as much as physical strength. I kept my sessions short enough to finish before my morning coffee, just two minutes at first. That tiny win created momentum that lasted years.
Phase 3: Strength Integration (Weeks 5-8)
Focus: Consistent Rhythm
As hip stability improves, expand your sessions with these low-friction upgrades:
- Duration: 8-12 minutes (add 2 minutes weekly)
- Resistance: Levels 2-3 (increase only when movement feels fluid)
- Cadence: 50-60 RPM
- Hand placement: Alternate between fixed and moving arms
Pro Tip: Set a single "recovery preset" on your console. Name it something calming like "Gentle Flow" so you never waste energy choosing settings. Look for machines with large, tactile buttons. Gloved fingers or post-surgery stiffness makes touchscreens frustrating.
Focus on how your hip feels rather than distance or calories. Does the motion feel like walking through water? Good. Is your jaw relaxed? Even better. Discomfort in the groin or front hip means you've pushed too far, so scale back immediately.
Phase 4: Sustainable Integration (Weeks 9-12+)
Focus: Effortless Consistency
By now, elliptical sessions should feel like putting on a favorite sweater, natural and comforting. This is where most people burn out by chasing intensity. Instead:
- Lock your duration: 15-20 minutes is ideal for long-term adherence
- Embrace rhythm over resistance: Prioritize smooth motion at Level 3 vs. straining at Level 5
- Add one variable monthly: Try 5° incline or moving arms, but never both at once When adding incline, follow this elliptical incline training guide to progress without overloading your hip.
Habit design secret: Anchor your session to an existing routine. After morning coffee. Before the kids wake up. Right after dinner cleanup. The trigger matters more than the time of day.
By week 12, you should move through your full range of motion without hesitation. Notice how your clothes fit differently, how stairs feel easier. These quiet wins build the identity of someone who moves well, the most powerful motivator for lifelong consistency.
Long-Term Wisdom for Joint Longevity
Beyond the 12-Week Mark
Hip recovery continues for months, but your elliptical routine now serves broader goals: If bone health is a priority, use our bone density elliptical protocols designed for osteoporosis prevention.
- Maintenance mode: 3-4 sessions weekly of 20-25 minutes
- Resistance sweet spot: Levels 3-5 (adjust based on energy levels, not some arbitrary target)
- The "talk test" rule: You should speak full sentences comfortably
Forget extreme challenges. Sustainable comfort creates reliability. I've seen clients derail by jumping into 30-minute high-resistance sessions at week 10, only to skip workouts for months when their hip flared up. Protect your progress by honoring today's limits.
Final Verdict: Your Smoothest Path Forward
Successful elliptical hip replacement recovery isn't measured in miles or minutes, it's in how seamlessly movement becomes part of your life. Start microscopic, prioritize feel over numbers, and let your body's feedback guide progression. The most effective elliptical rehabilitation timeline adapts to you, not a rigid calendar.
Your surgical team's clearance is your green light, but your comfort cues are the ongoing traffic signal. When every session ends with "That felt good," you've built a ritual that lasts decades, not just recovery weeks. Remember: small, repeatable wins compound into lifelong health. Your future self will thank you.
Related Articles